Image Compressor
Compress JPG, PNG and WebP images online with adjustable quality and max-size limits. Compare sizes before and after: all processing happens locally in your browser.
How to use
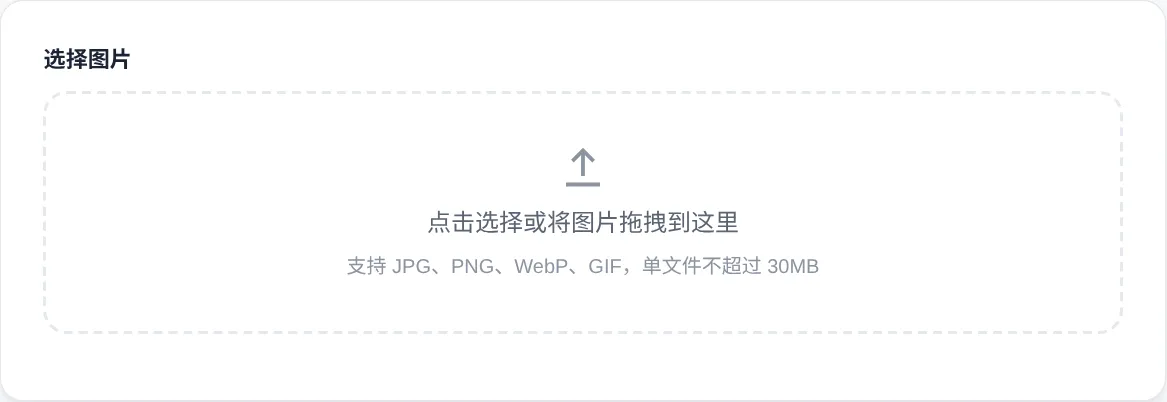
- Click the drop zone or drag an image onto it.
- Drag the quality slider and choose a max-dimension limit and output format.
- Live previews show the result, along with the before/after file sizes.
- Happy with the result? Click "Download compressed image" to save it.
FAQ
Does compression hurt quality?
Is my image uploaded anywhere?
What happens to transparent PNGs?
Screenshots
How to use
- Load your image
Click the dashed drop zone or drag a JPG, PNG, WebP or GIF file onto it. Single files up to 30MB are supported, and nothing leaves your device.
- Set the quality level
Drag the quality slider between 10% and 100%. Around 80% is usually visually lossless. Lower values shrink the file further, but banding and artifacts appear.
- Cap the longest side
Pick a max-dimension limit from the dropdown: 1920, 1280, 800 or 400 pixels. Downscaling screenshots and camera photos cuts size sharply.
- Choose the output format
Select JPG, WebP or PNG from the output-format dropdown. JPG is the most compatible, WebP is smaller at equal quality, and PNG preserves transparency.
- Compare, then download
The before-and-after previews and saved-percentage box update live. When the balance looks right, click Download compressed image to save the file.
About this tool
Image compression trades quality for size. JPG and WebP discard detail the eye barely notices, and the quality slider sets how much is discarded. This tool re-encodes the picture on a Canvas in your browser. No software to install, and no upload of your photos to any server.
It suits site owners chasing faster pages and developers pre-compressing files before an upload API. It also unblocks marketers hitting size limits on social platforms and store backends. A 3MB screenshot can come out near 200KB. Pair the slider with a max-dimension limit to make camera originals web-ready in one pass.
How it works
Lossy compression cuts the picture into 8×8 pixel blocks and runs a discrete cosine transform on each, turning spatial detail into frequency coefficients. The coefficients are then quantized, a rounding step aimed at detail the eye barely registers. Low-frequency contours and shading survive, so the picture still looks natural. The quality slider sets how coarse that rounding is. At 80% the quantization stays gentle and the result is hard to tell from the original. Below roughly 60%, blockiness and ringing artifacts appear along text edges and in sky gradients. The right value is the lowest one you cannot see.
Re-encoding also strips all metadata. The EXIF block holds camera settings, GPS coordinates and lens details, and none of it survives a Canvas round trip. The file gets a few kilobytes smaller and your location stays private. File size tracks total pixel count almost linearly, so downscaling is the most direct way to save weight. Capping the longest side of a 4000-pixel photo at 1920 keeps roughly a quarter of the pixels. That step usually saves more than lowering quality again.
When to use it
- Speeding up hero images
Cap the homepage banner at 1920 pixels and export WebP at 80% quality so each hero lands near 200KB. Largest Contentful Paint improves measurably, and mobile visitors on weak connections no longer wait on a blank first screen.
- Passing upload size checks
Job portals and government forms often cap uploads at 2MB or 5MB, while phone originals start at 5MB. Drop quality to 70% and limit the longest side, and the file passes on the first attempt instead of the fifth.
- Slimming a photo archive
Phone originals run 4 to 8MB each, so a year of shooting adds up to tens of gigabytes. Compress the sharing copies down to a few hundred kilobytes and keep the untouched originals in cold backup.
Tips & tricks
- Start at the default 80% quality and lower it only if the saving is not enough. Visible artifacts rarely appear above 60%.
- Transparent PNGs turn white when exported to JPG. Switch to PNG or WebP output to keep the alpha channel.
- For web use, try WebP first. At the same visual quality it is often 20-40% smaller than JPG, and the saving adds up across a page.
Things to watch
- Re-compressing compressed files
Every JPEG save re-quantizes the data, and artifacts pile up like photocopies of photocopies. Restart from the original file instead of pushing last week's output through the slider a second time.
- Banding in dark gradients
Night skies, shadows and large dark gradients show banding first at low quality, because quantization errors are most visible there. Raise quality back above 75% or switch the output format to PNG to preserve the transition.
- Animated input loses frames
A GIF or animated WebP comes back from the Canvas re-encoder as a static first frame, with the motion gone. Use a dedicated animated-image tool when animation must survive; this one is built for stills.